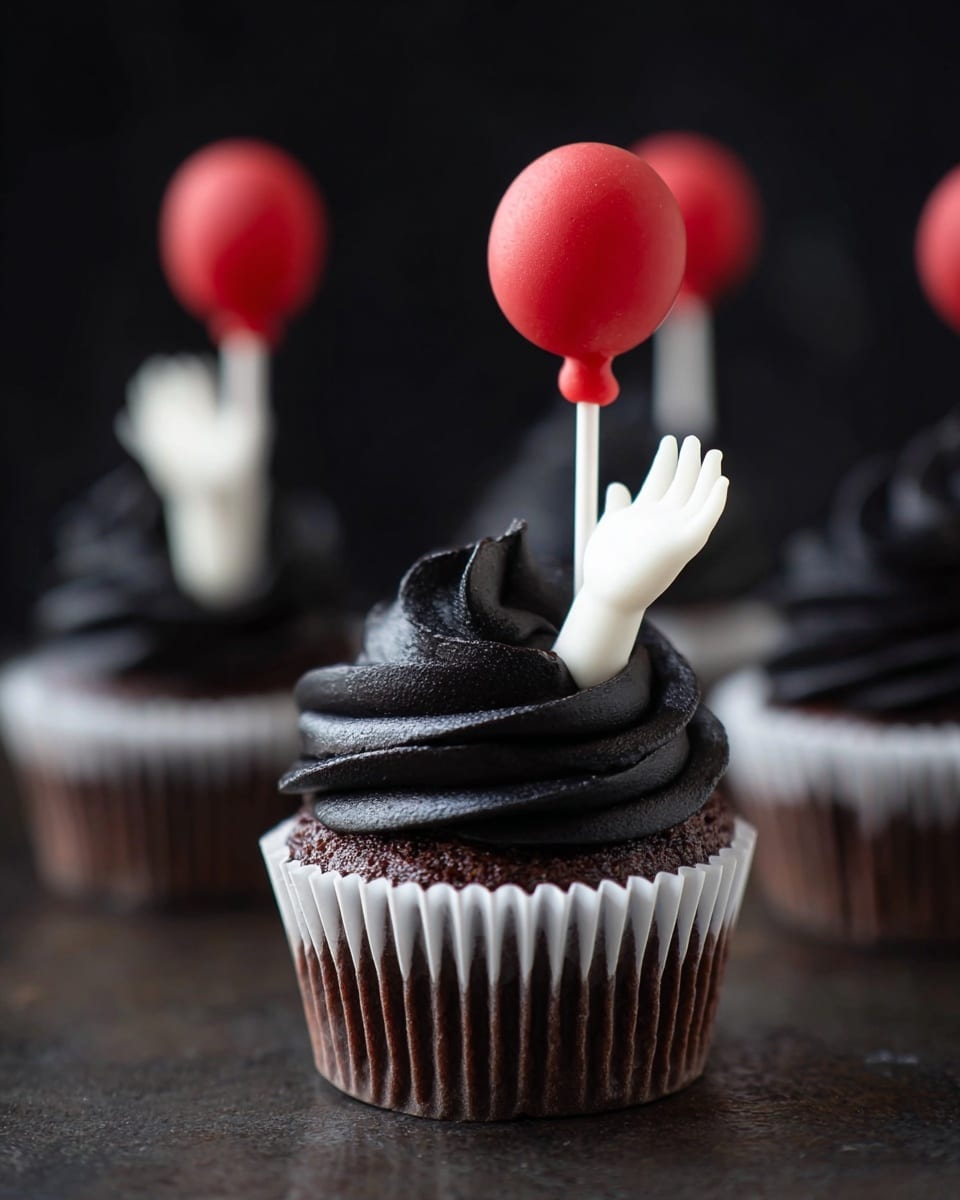
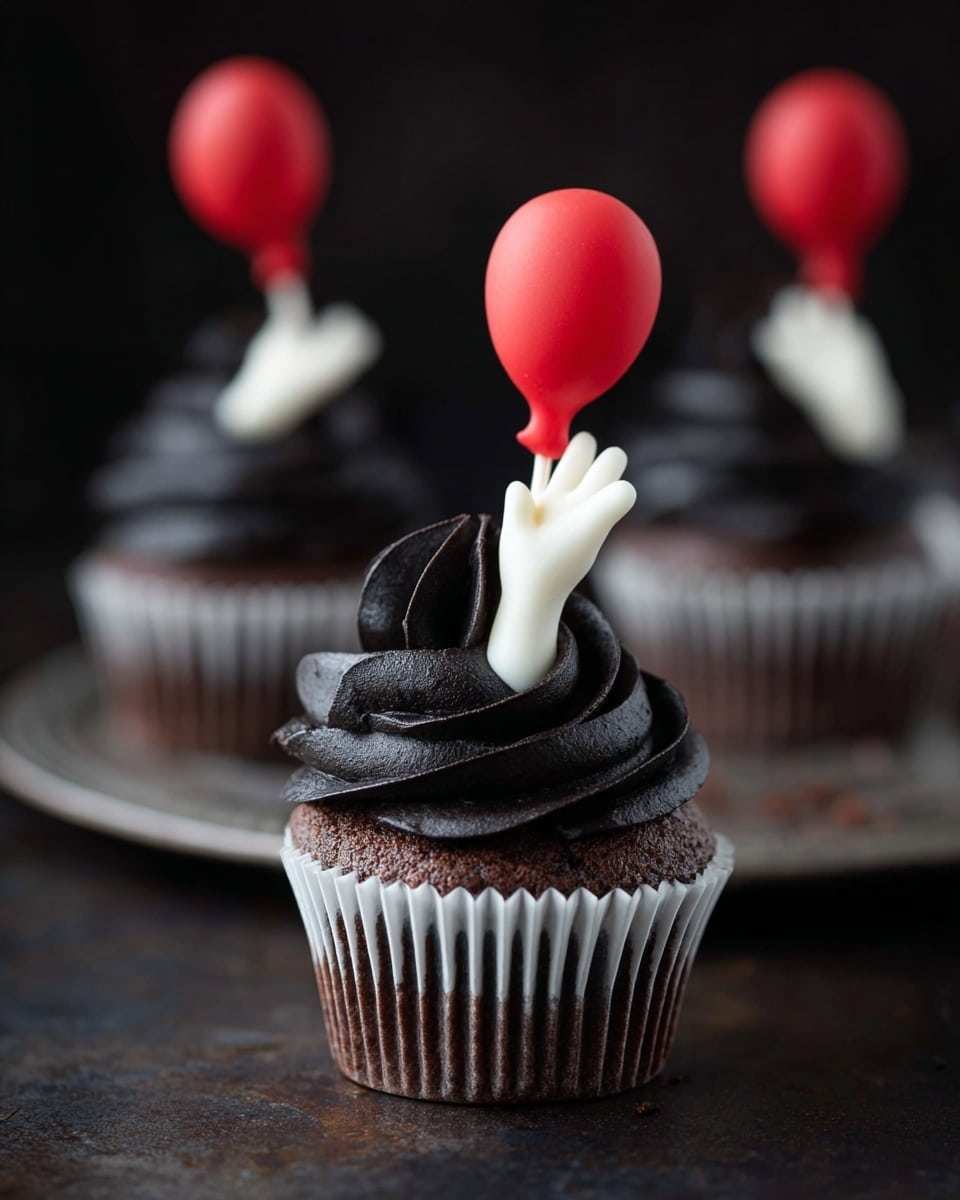
If you’re looking for a show-stopping treat this Halloween, you’ve got to try my Creepy Clown Cupcakes for Halloween Recipe. These cupcakes are just the right mix of spooky and fun — perfect for parties, trick-or-treaters, or even an eerie family dessert. I absolutely love how these cupcakes turn out: moist, chocolatey, and topped with the creepiest clown faces you can imagine. Trust me, once you make them, they’ll be the highlight of your Halloween spread!
Why You’ll Love This Recipe
- Simple Ingredients: You probably already have most of what you need in your pantry, which means no last-minute store runs.
- Fun and Festive: These cupcakes aren’t just tasty, but also the perfect creepy centerpiece with their unique clown decorations.
- Kid-Approved: My family goes crazy for these, and kids love helping with the decorating part!
- Versatile for All Skill Levels: Whether you’re a baking newbie or a pro, the recipe walks you through everything step-by-step.

Ingredients You’ll Need
The ingredients for this Creepy Clown Cupcakes for Halloween Recipe come together beautifully to create a rich, moist chocolate base that really holds up well with the detailed decorations. I always recommend using fresh eggs and a good-quality cake mix to get the best texture and flavor.
- Chocolate Cake Mix: The base of your cupcakes; I prefer a fudgy mix to deepen the chocolate flavor.
- Flour: Helps give structure and a lovely crumb.
- Sugar: For sweetness and moisture retention.
- Salt: Just a pinch enhances all the other flavors.
- Water: Keeps the batter moist—tap water works fine here.
- Vegetable Oil: Adds richness—don’t substitute with butter or you’ll change the texture.
- Vanilla Extract: This brings warmth and depth to your cupcakes.
- Sour Cream: I discovered this trick when I first tried adding sour cream—it makes the cupcakes incredibly tender!
- Eggs: The glue that holds everything together; room temperature eggs blend better.
- Decorator’s Icing: Essential for attaching fondant pieces and adding details.
- White Fondant: Used for the clown’s face—easy to work with if you knead it before use.
- Red Fondant: Perfect for creating the creepy clown’s nose and mouth.
- Black Food Coloring: A must for painting on the eyes and sinister details.
Variations
I love playing around with this recipe depending on the mood or occasion. The decorating part especially gives you so much room to make it your own. Don’t be afraid to try something a little different!
- Flavor Swap: I once swapped half the chocolate cake mix for a red velvet one for a bright surprise inside—so fun and festive!
- Dairy-Free Version: Using dairy-free sour cream and egg replacer worked great for a friend with allergies.
- Less Creepy Option: Skip the black food coloring details and go for a funny clown face instead—it still gets rave reviews.
- Spicy Addition: I added a bit of cinnamon and cayenne to the batter once—totally unexpected but really delicious.
How to Make Creepy Clown Cupcakes for Halloween Recipe
Step 1: Mix the Batter Like a Pro
Start by combining the chocolate cake mix, flour, sugar, and salt in a large bowl. Then add the water, vegetable oil, vanilla extract, sour cream, and eggs. I usually use my stand mixer on medium speed, but a handheld mixer or even vigorous whisking works if you don’t have one. Blend everything until smooth and fully mixed — no flour pockets hiding around! You’ll know the batter is ready when it has a glossy sheen and flows easily off a spoon.
Step 2: Bake with Care
Line your cupcake tin with the liners then fill each about ¾ of the way with batter. This helps the cupcakes rise beautifully without spilling over. Place them in an oven preheated to 350°F (175°C) and bake for about 18 minutes. Don’t open the oven door before that time to avoid sinking. To check doneness, just insert a toothpick in the center—it should come out clean or with a few moist crumbs, but no wet batter.
Step 3: Cool Completely Before Decorating
This might sound obvious, but this step is key! I used to rush decorating right after baking and ended up with melted icing and fondant slips. Let your cupcakes cool on a wire rack for at least 30 minutes. The cooler they are, the better the fondant and icing will stick without melting or sliding off.
Step 4: Craft the Creepy Clown Faces
Now for the fun (and slightly spooky) part. Roll out your white fondant and cut out circles for the clown faces. Use decorator’s icing to attach the fondant to the cupcake tops gently. Shape small red fondant pieces for noses and mouths. Then, dilute a little black food coloring and carefully paint on the eyes and scary details with a thin brush. It takes some patience, but I promise the creepy effect will be worth it!
Pro Tips for Making Creepy Clown Cupcakes for Halloween Recipe
- Fondant Kneading: Warm and knead the fondant well before rolling—it makes it stretchy and easier to work with.
- Use Gel Colors: For black food coloring, gel pastes give a deeper color and are easier to control for painting details.
- Don’t Overfill Cupcake Liners: Filling ¾ full avoids messy overflow and gives a perfectly domed cupcake.
- Let Cupcakes Fully Cool: Decorating warm cupcakes causes melting and fondant slips—patience pays off here!
How to Serve Creepy Clown Cupcakes for Halloween Recipe
Garnishes
For the final creepy touch, I like to add a little edible glitter or a tiny dollop of red decorator’s gel around the eyes, simulating sinister tears. It looks gruesome but adds a playful effect that guests love. If you want to get extra creative, use small candy eyeballs for a 3D effect!
Side Dishes
I usually serve these cupcakes alongside classic Halloween snacks like caramel apples or spiced popcorn. Personally, pairing with a rich hot chocolate or a spiced cider sets the mood perfectly and balances out the sweetness.
Creative Ways to Present
I tried arranging the cupcakes on a “haunted graveyard” platter once, complete with crushed chocolate cookie “dirt” and gummy worms crawling around. Guests went wild! You could also serve them on a tiered cake stand decorated with fake spider webs and miniature pumpkins for an easy but impactful display.
Make Ahead and Storage
Storing Leftovers
If you have any leftovers (which might be tough!), store cooled and decorated cupcakes in an airtight container at room temperature for up to 2 days. I avoid refrigerating because it can dry them out and make the fondant sticky.
Freezing
I’ve frozen the plain cupcakes (without decoration) by wrapping them individually in plastic wrap, then adding them to a freezer bag for up to 3 months. When you’re ready to decorate, thaw them fully at room temperature overnight. Trying to freeze fondant-decorated cupcakes usually ruins the look, so I keep decorating as a fresh step.
Reheating
To enjoy leftover cupcakes, I find that just bringing them to room temperature works best—warming can melt the fondant and icing. If you prefer warm cupcakes, try heating the plain ones (without icing) in the microwave for about 10 seconds before decorating fresh.
FAQs
-
Can I make these cupcakes gluten-free?
Absolutely! You can substitute the flour with a gluten-free all-purpose blend and use a gluten-free chocolate cake mix if possible. Just make sure to check your baking time, as gluten-free batters sometimes bake faster or slower.
-
How do I avoid fondant cracking when decorating?
Keep fondant sealed in airtight containers before use and knead it until soft and pliable. Rolling on a smooth, lightly powdered surface helps prevent sticking or tearing. Also, avoid rolling it too thin—about 1/8 inch thickness works nicely for cupcakes.
-
Can I prepare the cake batter the night before?
I don’t recommend mixing the wet and dry ingredients the night before because baking soda and powder start reacting immediately. However, you can prepare and sift the dry ingredients separately, then combine everything fresh when ready to bake.
-
What if I don’t have food coloring for painting details?
You can use natural alternatives like activated charcoal powder for black or cocoa powder for darker shades. Just mix with a tiny bit of water or vodka to create a paintable consistency. Gel food colorings, though, are easiest for fine details.
Final Thoughts
I have to tell you, this Creepy Clown Cupcakes for Halloween Recipe holds a special place in my heart—not only because they always impress guests, but because the making of these cupcakes turned into a fun family tradition. Decorating with my kids, seeing their eyes light up while crafting the creepy clown faces, it’s moments like these that make the kitchen feel warm and magical. If you want a Halloween treat that’s both spooky and downright delicious, give this recipe a try—you’ll enjoy every step as much as the results!
Print
Creepy Clown Cupcakes for Halloween Recipe
- Prep Time: 15 minutes
- Cook Time: 18 minutes
- Total Time: 1 hour 33 minutes
- Yield: 34 cupcakes
- Category: Dessert
- Method: Baking
- Cuisine: American
Description
These Creepy Clown Cupcakes are a spooky and delicious treat perfect for Halloween parties. Featuring a rich chocolate base and fun, colorful decorations using fondant and icing, these cupcakes combine moist cake with creative decorating to delight guests of all ages.
Ingredients
Cake Batter
- 15.25 oz chocolate cake mix
- 1 cup all-purpose flour
- 1 cup granulated sugar
- ¾ tsp salt
- 1 ⅓ cup water
- 2 tbsp vegetable oil
- 1 tsp vanilla extract
- 1 cup sour cream
- 4 large eggs
Decorations
- Decorators icing
- White fondant
- Red fondant
- Black food coloring
Instructions
- Mix the Batter: In a large bowl, combine the chocolate cake mix, flour, sugar, salt, water, vegetable oil, vanilla extract, sour cream, and eggs. Mix all ingredients together until the batter is smooth and well blended.
- Prepare the Cupcake Tin: Line a cupcake tin with paper liners. Fill each liner about three-quarters full with the prepared batter to allow room for rising during baking.
- Bake the Cupcakes: Place the cupcake tin in a preheated oven at 350°F (175°C) and bake for 18 minutes, or until a toothpick inserted in the center of a cupcake comes out clean.
- Cool the Cupcakes: Remove the cupcakes from the oven and allow them to cool completely before starting the decorating process to prevent the icing and fondant from melting.
- Decorate the Cupcakes: Use decorators icing, white fondant, red fondant, and black food coloring to create creepy clown faces and details on each cupcake. Refer to the blog post for detailed decorating instructions.
Notes
- Nutrition facts do not include the fondant as its quantity and composition vary widely.
- For detailed decorating instructions and tips, please see the blog post associated with this recipe.
- Make sure cupcakes are fully cooled before decorating to maintain the integrity of the fondant and icing designs.
Nutrition
- Serving Size: 1 cupcake
- Calories: 250 kcal
- Sugar: 22 g
- Sodium: 280 mg
- Fat: 10 g
- Saturated Fat: 3 g
- Unsaturated Fat: 6 g
- Trans Fat: 0 g
- Carbohydrates: 35 g
- Fiber: 2 g
- Protein: 4 g
- Cholesterol: 40 mg

