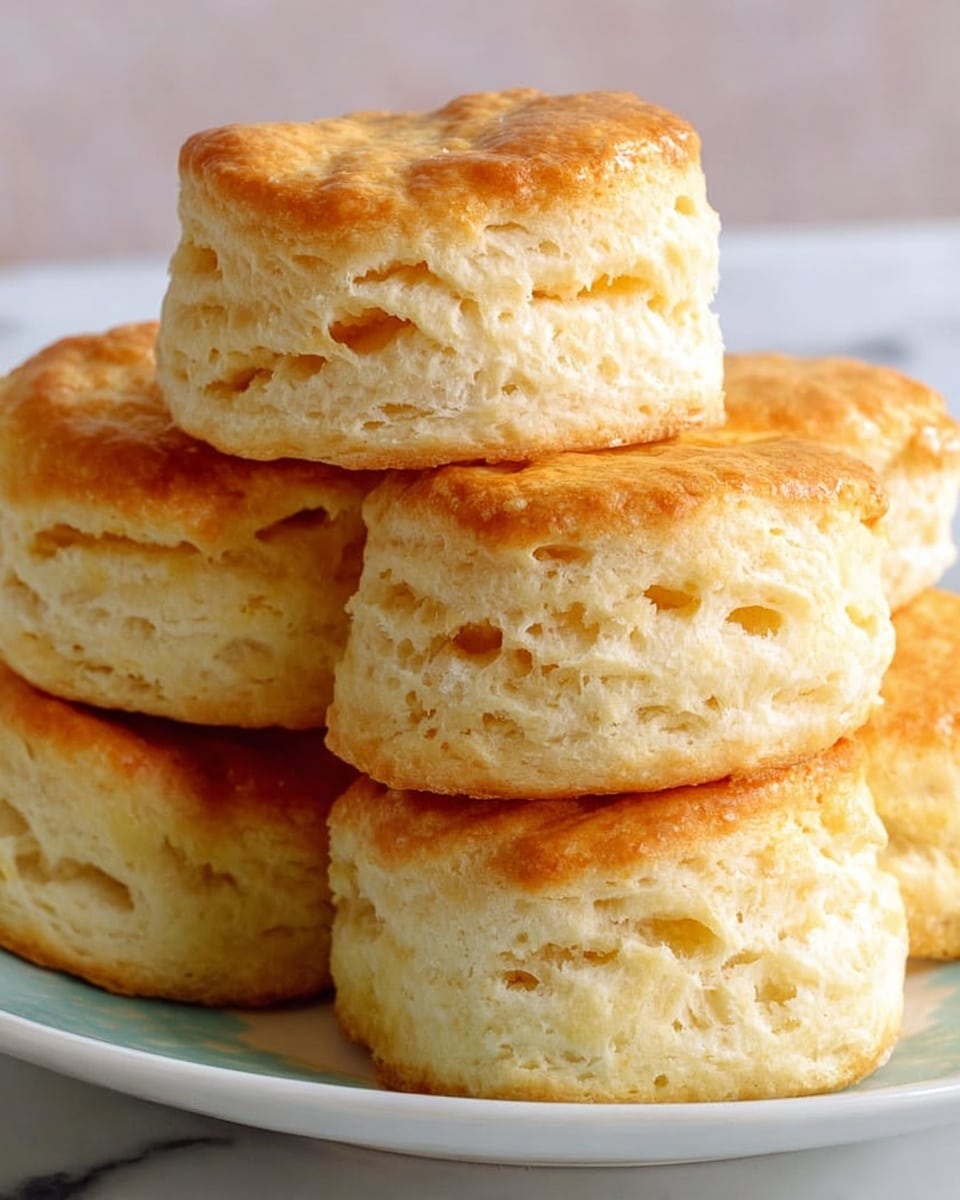
If you’re on the lookout for a biscuit recipe that’s bursting with flavor and irresistibly soft, you’re going to adore this Garlic Butter Biscuits Recipe. I absolutely love how these biscuits come out tender and flaky, with just the right hit of garlic butter that makes every bite feel like a warm hug. Whether you’re serving them alongside a cozy stew or just slathering them with extra butter for breakfast, these biscuits are a game-changer—and I can’t wait to share all my tips so you nail them on your first try!
Why You’ll Love This Recipe
- Flaky, Tender Texture: Thanks to the cold garlic butter pieces mixed in just right, these biscuits have an unbeatable flakiness you won’t want to miss.
- Garlic Butter Flavor Built In: Unlike store-bought or plain biscuits, the garlic butter is infused beautifully throughout, giving you richness in every bite.
- Simple to Make Ahead: I prepare the garlic butter hours or even a day ahead, which adds depth to the flavor and saves time on baking day.
- Versatile for Any Meal: These biscuits excel with everything, from breakfast sandwiches to dinner sides—so get ready for all kinds of yummy pairings.

Ingredients You’ll Need
The magic in this garlic butter biscuits recipe comes down to a handful of simple ingredients that work beautifully together. Using real buttermilk and fresh garlic really makes these taste homemade and special. I’ll share some tips so you pick the best versions for your batch.
- Garlic Butter: Homemade is best here—I walk you through a simple prep that brings fresh garlic flavor right into your biscuits.
- All-Purpose Flour: The perfect base for soft, fluffy biscuits without heaviness.
- Baking Powder: Your rising agent to get that tender, light texture.
- Buttermilk: Adds a slight tang and tender crumb; if you don’t have it, you can DIY with milk and lemon juice or vinegar.
- Soft Butter: For richness; this needs to be soft but not melted, so it blends perfectly with your garlic.
- Minced Garlic: Fresh garlic is key—it’ll mellow when cooked into buttery goodness.
Variations
I love how customizable this Garlic Butter Biscuits Recipe is—once you get the basic recipe down, you can tweak it for extra flavors or dietary needs that suit your family’s tastes and preferences. Here are some tweaks I’ve tried and the ones I think you’ll enjoy.
- Herbed Garlic Butter Biscuits: Adding fresh chopped herbs like rosemary, thyme, or parsley to the garlic butter takes these biscuits to another level, and my family always asks for seconds when I make this version.
- Cheesy Garlic Butter Biscuits: Fold in some shredded cheddar or parmesan cheese to the dough before baking—I’ve found it adds a savory depth that’s spectacular with soups or chili.
- Vegan Adaptation: Swap the butter for dairy-free margarine and use a plant-based buttermilk substitute to keep all the flavor while staying vegan—you won’t sacrifice the texture.
- Spicy Garlic Butter Biscuits: A pinch of red pepper flakes in the garlic butter gives a subtle spicy kick, which I discovered makes a perfect companion to barbecue dinners.
How to Make Garlic Butter Biscuits Recipe
Step 1: Make the Garlic Butter Ahead
Start by preparing your garlic butter at least an hour before you plan to bake these, but I promise you, even doing this the day before is a lifesaver. Heat 3 tablespoons of butter gently in a small pan over low heat—you want to warm it but not let it brown. Add the minced garlic and sauté just until it softens and releases fragrance, about a minute or so. Let it cool until almost room temperature, then stir this garlic butter into the remaining soft butter. Wrap the mixture tightly in plastic wrap and shape it into a small log before refrigerating. Once firm, cut into small pieces about the size of your thumb’s top. This step is where the richness starts and honestly, this little bonus of time really boosts the overall flavor.
Step 2: Mix Dry Ingredients and Incorporate Butter
Preheat your oven to 375°F. In a food processor, pulse together the flour and baking powder to ensure your biscuits rise beautifully. Now, drop in those cold garlic butter pieces. This part is crucial: pulse just enough to distribute the butter but don’t overwork it. You still want visible little chunks of butter, similar to what you’d see in flaky pie dough. This will create air pockets in baking for tender layers.
Step 3: Add Buttermilk and Form the Dough
Transfer your flour-butter mix into a large bowl and make a well in the center. Pour in the buttermilk, then fold using a wooden spoon. The trick here is to work quickly but gently—stop folding as soon as you don’t see dry flour. Over-mixing will make your biscuits tough. When the dough feels sticky but manageable, drop it onto a generously floured surface. Flour your hands and gently press the dough out with your palms to about 1 ½ inches thick. I skip rolling pins here because it keeps the biscuit texture softer and flakier.
Step 4: Cut and Bake Your Biscuits
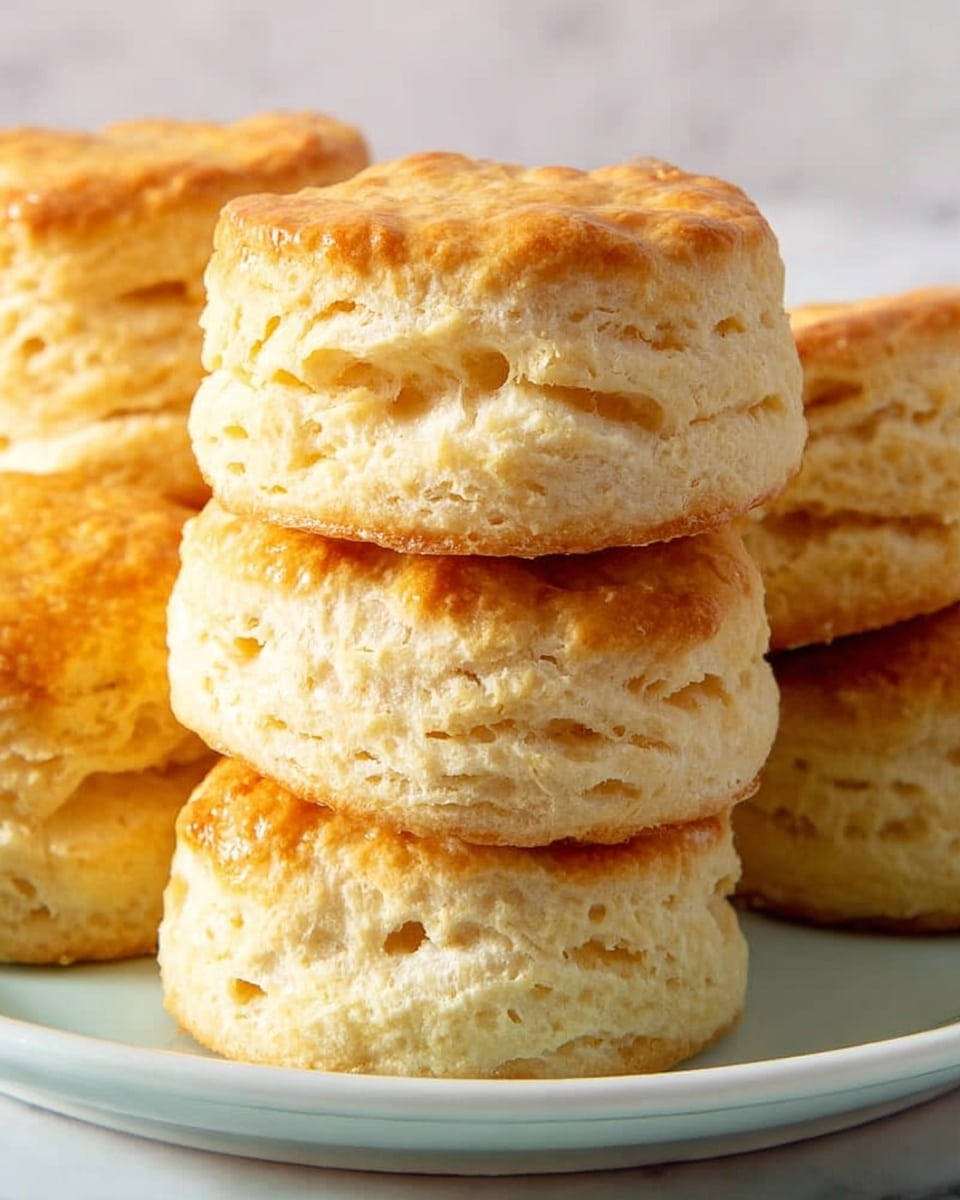
Use a sharp 3-inch biscuit cutter to cut out as many biscuits as you can without twisting (twisting seals the edges and inhibits rising). Place each biscuit on a parchment-lined baking sheet—my go-to is a heavy-duty aluminum pan because it browns the bottoms perfectly without burning. For extra golden tops, brush your biscuits lightly with an egg wash made by whisking an egg with a tablespoon of water. Bake for about 20 minutes or until they are golden brown on top. The kitchen will smell amazing, and you’ll know they’re done when you see that golden crust.
Pro Tips for Making Garlic Butter Biscuits Recipe
- Keep Your Butter Cold: Cold garlic butter chunks layered in the flour make all the difference in flakiness—resist the urge to over-handle so it stays brisk and solid.
- Don’t Overmix the Dough: Once you add buttermilk, stop folding as soon as everything is combined—even a patch of flour missing is better than tough biscuits.
- Use a Sharp Cutter and Avoid Twisting: Press straight down when cutting biscuits to encourage vertical rise; twisting squashes the layers.
- Bake on a Heavy Pan: My secret to golden, crispy bottoms is using a sturdy aluminum pan rather than a thinner baking sheet that may burn the biscuits.
How to Serve Garlic Butter Biscuits Recipe
Garnishes
I usually keep garnishes simple because the biscuits themselves are packed with flavor, but a sprinkle of fresh chopped parsley or chives on top right after baking adds a fresh pop of color and herbal brightness that I adore. If you want to get fancy, a dollop of cream cheese mixed with herbs makes a stunning spread for breakfast.
Side Dishes
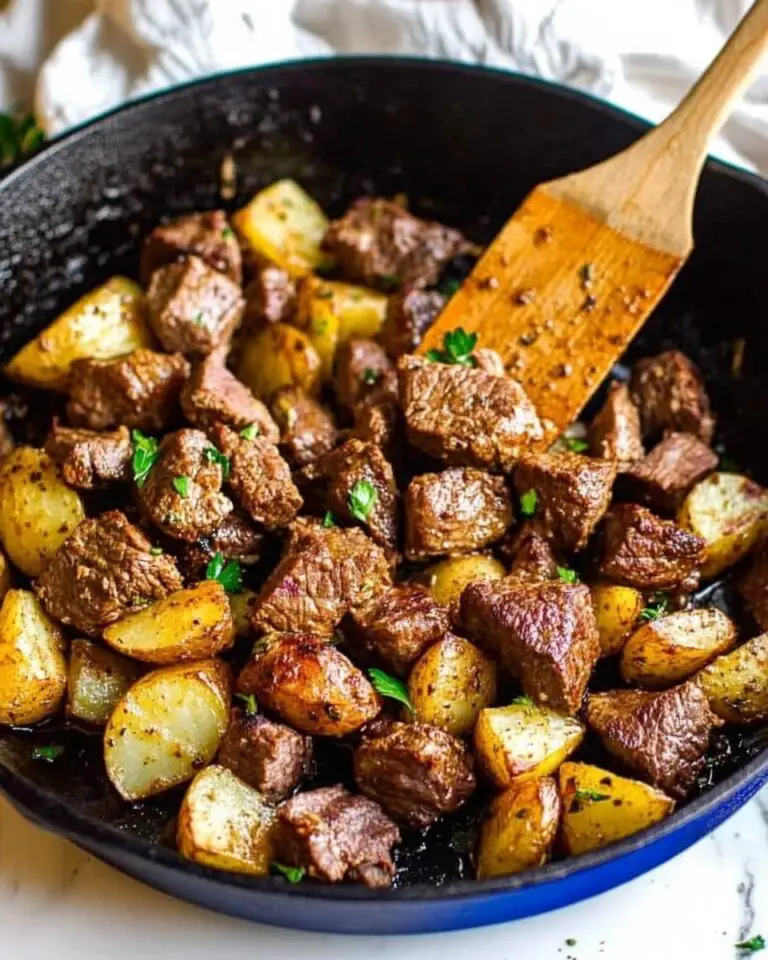
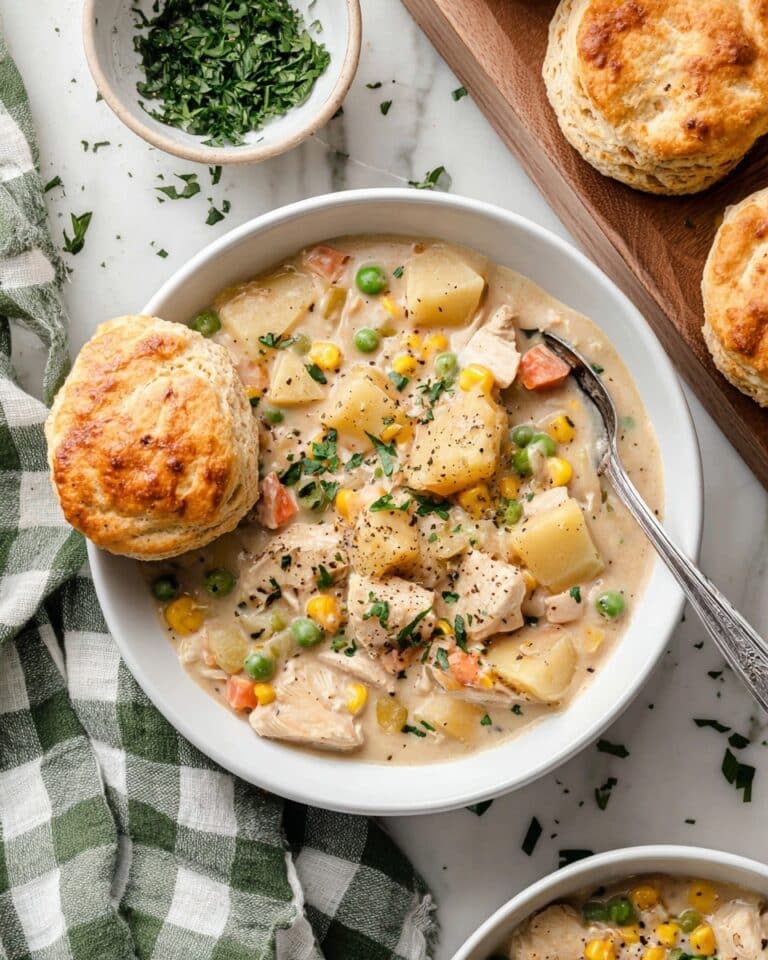
These garlic butter biscuits are seriously versatile. I love pairing them with hearty chili on chilly nights or alongside roasted turkey and gravy for holiday dinners. For a casual brunch, they make mouthwatering breakfast sandwiches filled with eggs and sausage. They also balance creamy soups and stews perfectly!
Creative Ways to Present
For special occasions, I arrange the biscuits in a circle on a large platter and place a small bowl of garlic herb butter in the center for guests to spread themselves. It feels festive and turns a simple side into a centerpiece. Another fun idea is to layer biscuits split open with sliced cheeses and herbs for crowd-pleasing apps.
Make Ahead and Storage
Storing Leftovers
I always store leftover garlic butter biscuits in an airtight container at room temperature if I plan to eat them within two days. They stay soft and flavorful this way, just like when freshly baked. Avoid refrigerating unless you plan to reheat because the fridge can dry them out.
Freezing
Freezing these biscuits works beautifully, especially if you double the recipe. Freeze them on a baking sheet first, then transfer to a zip-top bag so they don’t stick together. When you want some, pop them in the oven straight from frozen, adding a few extra minutes to bake. You’ll get almost freshly baked taste with much less effort on busy days.
Reheating
My go-to reheating method is popping biscuits in the oven at 350°F for about 10 minutes wrapped loosely in foil to keep them moist. This method refreshes the texture better than microwaving, which can make them rubbery—plus you get that toasted, warm garlic butter aroma again.
FAQs
-
Can I use regular butter instead of garlic butter in this recipe?
Yes, you can make these biscuits with plain butter, but you’ll lose the special garlic flavor infusion that makes this recipe stand out. If you’re short on time, you can mix minced garlic with soft butter just before baking, but prepping the garlic butter ahead really deepens the flavor.
-
What if I don’t have buttermilk?
No worries! You can make a quick buttermilk substitute by adding 1 tablespoon of lemon juice or white vinegar to a cup of milk. Let it sit for 5-10 minutes, and it’ll curdle slightly—perfect for tender biscuits.
-
How do I get my biscuits to be flaky?
The key is to keep your garlic butter cold and to pulse it gently with the flour until small pieces remain visible before adding the buttermilk. Also, avoid overworking the dough once you add the liquid. These steps help create air pockets that give the biscuits their flakiness.
-
Can I make these ahead and bake later?
Absolutely! You can prepare the dough, cut out the biscuits, and keep them refrigerated for up to 24 hours before baking. Just cover your baking sheet with plastic wrap and bake straight from the fridge, adding a few extra minutes to the baking time.
Final Thoughts
This Garlic Butter Biscuits Recipe has earned a permanent spot in my kitchen rotation because it’s straightforward, delicious, and full of comforting flavor. I remember the first time I served them at a family gathering, and everyone kept reaching for more—they really do make every meal feel special. I hope you find yourself baking them often and making them your own, because nothing beats a batch of warm homemade biscuits that taste like they were made with love. Give these a try—I’m betting you’ll love them just as much as I do!
Print
Garlic Butter Biscuits Recipe
- Prep Time: 20 minutes
- Cook Time: 20 minutes
- Total Time: 40 minutes
- Yield: 12 biscuits
- Category: Baking
- Method: Baking
- Cuisine: American
Description
These Garlic Butter Biscuits are soft, flaky, and packed with rich garlic flavor. Perfect as a side for roast turkey, chili, fried chicken, or for making tasty breakfast sandwiches. The biscuits are made by folding cold garlic butter into a light biscuit dough and baking until golden brown.
Ingredients
Garlic Butter
- 1/2 cup garlic butter (prepared as directed below)
- 3-4 cloves minced garlic
- 3 tbsp butter (for sautéing garlic)
- Remainder of 1/2 cup soft butter at room temperature
Biscuit Dough
- 2 1/4 cups all purpose flour
- 3 tsp baking powder
- 1 cup buttermilk
Optional
- 1 egg
- 1 tbsp water (for egg wash)
Instructions
- Prepare Garlic Butter: Heat 3 tablespoons of butter over low heat without browning. Add minced garlic and sauté for about a minute until softened. Remove from heat and let cool to near room temperature. Stir this mixture into the remaining 1/2 cup of soft butter until fully combined. Wrap the garlic butter in plastic wrap, shape into a small log, and refrigerate until firm. Once firm, chop into small thumb-sized pieces.
- Preheat Oven: Set your oven to 375°F (190°C) to preheat while preparing the dough.
- Mix Dry Ingredients: In a food processor, blend the all-purpose flour and baking powder until combined.
- Incorporate Garlic Butter: Pulse the cold garlic butter pieces into the flour mixture, being careful not to overwork it. The butter should remain visible in small pieces, similar to flaky pastry dough.
- Add Buttermilk: Transfer the flour and butter mixture to a large bowl. Make a well in the center and pour in the buttermilk. Using a wooden spoon, fold the flour into the buttermilk quickly and gently, just until the flour disappears. Do not overmix to keep the biscuits tender.
- Shape Dough: Turn out the sticky dough onto a well-floured surface. Sprinkle additional flour on top and flour your hands. Pat the dough gently with floured hands to about 1 1/2 inches thick. Avoid using a rolling pin to keep the dough tender.
- Cut Biscuits: Use a sharp 3-inch biscuit cutter to cut out biscuits. Place them on a parchment paper-lined aluminum baking sheet to prevent burning on the bottom.
- Optional Egg Wash: Whisk together 1 egg and 1 tablespoon water to make an egg wash. Brush the tops of the biscuits lightly for a golden finish. Not all egg wash needs to be used.
- Bake: Bake the biscuits in the preheated oven for approximately 20 minutes or until golden brown on top and cooked through.
Notes
- These garlic butter biscuits pair wonderfully with roast turkey, hearty chili, or fried chicken.
- They also make delicious breakfast sandwiches when sliced and filled with eggs or sausage.
- The garlic butter can be prepared up to a day ahead and stored in the refrigerator for up to a week.
- Use aluminum baking sheets to avoid burning the bottoms of the biscuits due to better heat tolerance.
Nutrition
- Serving Size: 1 biscuit
- Calories: 162
- Sugar: 1 g
- Sodium: 222 mg
- Fat: 8 g
- Saturated Fat: 5 g
- Unsaturated Fat: 2 g
- Trans Fat: 0 g
- Carbohydrates: 19 g
- Fiber: 1 g
- Protein: 3 g
- Cholesterol: 21 mg

