
If you’ve ever thought about diving into dairy magic at home, this Homemade Butter Recipe with Heavy Cream Recipe is the perfect place to start. It’s surprisingly simple, so satisfying, and the flavor? Absolutely heavenly—far richer and fresher than anything you’ll find in a store. Stick around, because I’m excited to walk you through every buttery step to help you create your own fresh butter right in your kitchen!
Why You’ll Love This Recipe
- Pure Freshness: Nothing beats the creamy, fresh taste of butter you make yourself from heavy cream.
- Simple Ingredients: Just heavy cream (and a little salt if you want it!)—no weird additives or preservatives.
- Therapeutic Process: Watching and hearing the cream turn into butter is oddly satisfying and fun for the whole family.
- Flexible Use: You can customize your butter—salted, unsalted, or even whipped for spreading ease.

Ingredients You’ll Need
The beauty of this Homemade Butter Recipe with Heavy Cream Recipe is in its simplicity. Using just a couple of ingredients—high-quality heavy cream and optional sea salt—you’ll get that fresh, rich butter taste that transforms any dish. I always suggest going for organic heavy cream if you can; it makes a noticeable difference in flavor.
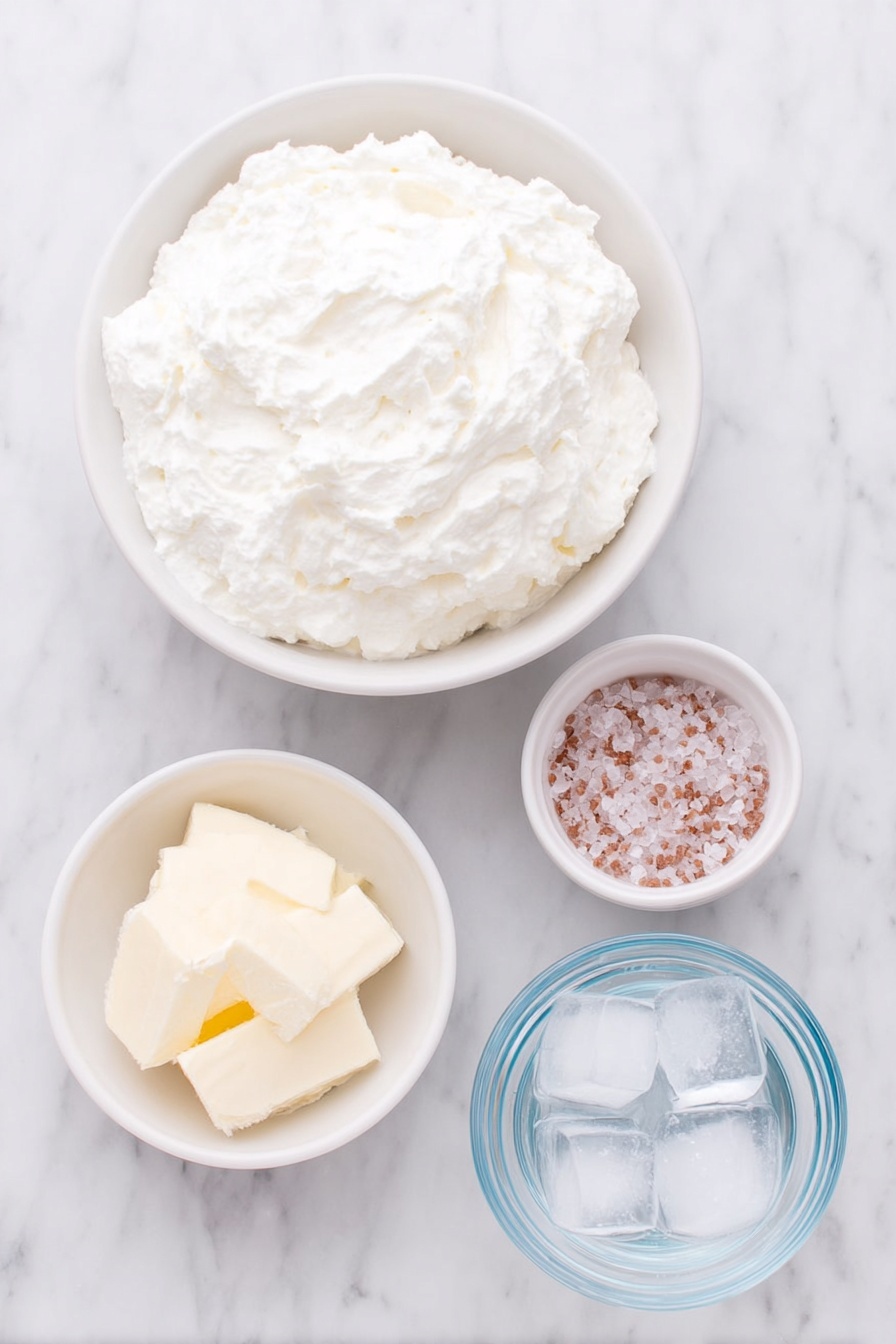
- Heavy whipping cream: Look for fresh, high-fat cream (at least 36% fat) to get the best butter yield and flavor.
- Sea salt (optional): Adds just the right touch of savory balance if you like salted butter, but you can skip it if you prefer unsalted.
- Ice water: Helps rinse the butter to remove buttermilk, keeping your butter fresh longer.
Variations
I love making this Homemade Butter Recipe with Heavy Cream Recipe as is, but sometimes I like to add little twists. It’s such an easy base that you can personalize it with fun flavors or dietary adaptations—trust me, a little creativity goes a long way.
- Herb-infused butter: I once folded in fresh chopped rosemary and garlic after making the butter, and my family went crazy for it spread on warm bread.
- Whipped butter version: After rinsing and drying, beat your butter a bit longer to get a light, spreadable texture—perfect if you’re like me and hate hard-to-spread cold butter.
- Dairy-free alternative: While this recipe needs heavy cream, if you want to try non-dairy options, experiment with coconut cream, though the process and flavor will differ greatly.
How to Make Homemade Butter Recipe with Heavy Cream Recipe
Step 1: Whip That Cream Till Magic Happens
Start by pouring your heavy cream into the bowl of a stand mixer fitted with the whisk attachment—or a large bowl if you’re using a hand mixer. Whisk on medium speed. Don’t rush this part, it usually takes about 8-10 minutes. First, the cream will whip into fluffy peaks just like whipped cream. Keep going a bit longer, and you’ll soon see it start to clump and separate—this is exactly what you want! When it separates, the fat solids stick to the whisk and you’ll have liquid buttermilk left behind in the bowl.
Step 2: Salt It and Strain
If you want salted butter, sprinkle in your sea salt once you see the cream begin to separate. Give it a few more whisks. Then, carefully pour the contents through a fine mesh sieve set over a bowl to catch the buttermilk. Be gentle so your butter stays put in the mesh strainer while the liquid drains away.
Step 3: Rinse and Squeeze Out the Buttermilk
Here’s a trick I discovered to help your butter stay fresh longer: fill a bowl with ice water, dip your butter into it, and gently squeeze out the excess liquid. This rinse removes extra buttermilk that can spoil your butter faster. Repeat dipping and squeezing until the water runs clear, and you’ll have beautifully clean butter ready to shape.
Step 4: Shape and Chill
Once rinsed and squeezed, transfer your butter onto parchment or wax paper. Roll it into a log or shape it into a rectangle, just like the butter sticks you buy at the store. I like to wrap it tight and tie each end with kitchen twine. For extra freshness, I pop the wrapped butter into a sealed plastic bag before refrigerating. It needs a few hours in the fridge to firm up, and then it’s ready to enjoy!
Pro Tips for Making Homemade Butter Recipe with Heavy Cream Recipe
- Room Temperature Cream: Let your cream come close to room temp before whipping—it whips faster and separates better for butter.
- Use a Stand Mixer: I found that a stand mixer really makes this easy and hands-free. If using a hand mixer, keep a steady rhythm to avoid splatter.
- Save Your Buttermilk: Don’t toss that liquid! It’s perfect for pancakes, biscuits, or salad dressings and adds great tang.
- Don’t Skip the Rinse: Rinsing with ice water is key for keeping the butter fresh longer, so resist the temptation to skip it.
How to Serve Homemade Butter Recipe with Heavy Cream Recipe

Garnishes
I love adding fresh herbs like chives or dill on top of softened homemade butter to give it a beautiful, fresh look and extra flavor. Sometimes, a sprinkle of flaky sea salt right before serving makes it irresistible—trust me, it’s a game-changer on warm bread.
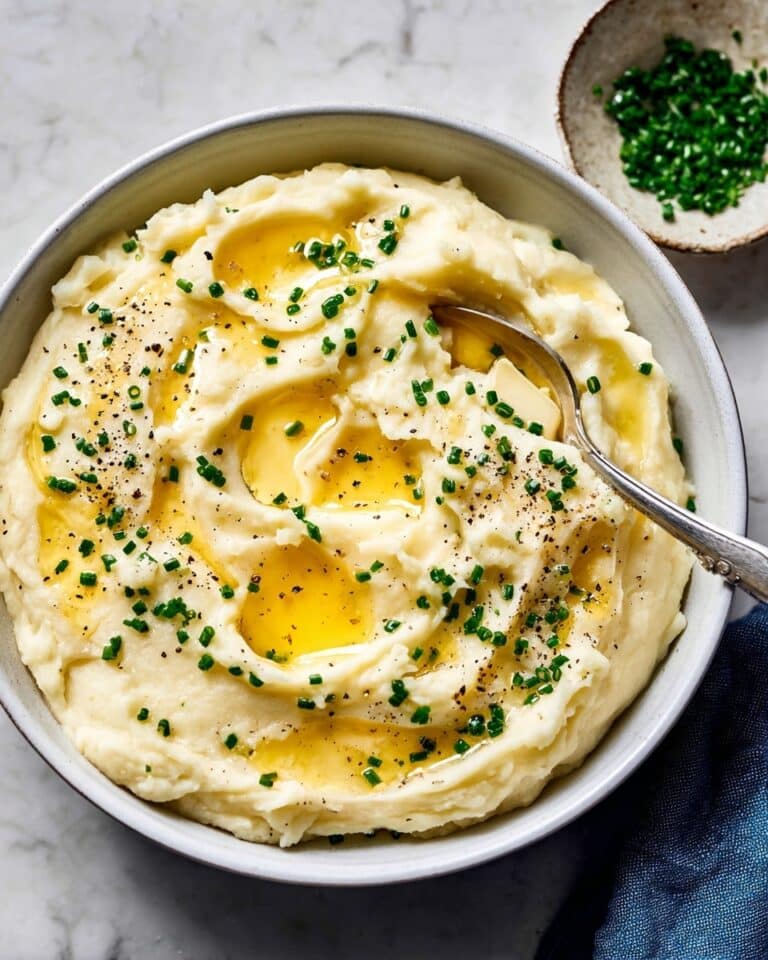
Side Dishes
This homemade butter pairs beautifully with just about everything—warm, crusty bread, roasted vegetables, or even melting over grilled corn on the cob. I especially enjoy it with homemade biscuits or slathered on a baked potato for pure comfort food bliss.
Creative Ways to Present
For special occasions, I like to pour melted homemade butter into mini silicone molds to create butter shapes like flowers or hearts. You can also mix in finely minced garlic and herbs, then chill it to make compound butter that looks elegant and adds a burst of flavor to your dishes.
Make Ahead and Storage
Storing Leftovers
I keep my homemade butter wrapped tightly in parchment inside an airtight container or a zip-top bag in the refrigerator. This keeps it fresh and prevents it from absorbing other fridge odors. It will stay perfect for up to three weeks, but honestly, mine never lasts that long!
Freezing
If I’m making butter in bulk, I slice it into sticks and freeze them individually wrapped. Frozen butter holds beautifully for up to nine months, and thawing it is quick when you plan ahead—just move it to the fridge the night before you want to use it.
Reheating
Butter doesn’t really need reheating, but if you want to soften it quickly, I just leave it on the counter for 15-20 minutes or pop it in the microwave for 10 seconds on low power. Just be careful not to melt it completely—you want spreadable, not liquid.
FAQs
-
Can I use regular whipping cream instead of heavy cream for this recipe?
For the best results with this Homemade Butter Recipe with Heavy Cream Recipe, it’s important to use heavy cream or heavy whipping cream that contains at least 36% fat. Regular whipping cream usually has less fat, which means less butter yield and a softer, less reliable texture.
-
How long does homemade butter last in the fridge?
When stored properly in an airtight container or wrapped tightly in parchment and plastic, homemade butter can last fresh in your fridge for up to three weeks. Rinsing off the buttermilk during the process really helps extend the shelf life.
-
What can I do with the buttermilk left after making butter?
Don’t throw away that lovely liquid buttermilk! It’s a fantastic ingredient in pancakes, biscuits, muffins, salad dressings, and marinades. I always save mine in a jar in the fridge for up to a week.
-
Do I have to add salt to the butter?
Salt is completely optional. Adding sea salt enhances flavor and helps with preservation, but if you prefer unsalted butter for baking or dietary reasons, just skip that step. The butter will still be deliciously creamy!
Final Thoughts
I absolutely love how this Homemade Butter Recipe with Heavy Cream Recipe turns out every time—it’s like bringing a little piece of the farm right into your kitchen. When I first tried making butter, I was amazed at how simple it is and how much better it tastes compared to store-bought versions. You’ll find that this recipe not only elevates your meals but also gives you a sense of pride in creating something beautiful and delicious from scratch. So go ahead, whip up a batch, and savor that fresh homemade goodness—you won’t regret it!
Print
Homemade Butter Recipe with Heavy Cream Recipe
- Prep Time: 25 minutes
- Cook Time: 0 minutes
- Total Time: 25 minutes
- Yield: 1 lb (4 sticks) butter, approximately 32 tablespoons
- Category: Homemade Butter
- Method: Stovetop
- Cuisine: American
Description
This homemade butter recipe teaches you how to transform fresh heavy whipping cream into rich, creamy butter using simple whisking techniques. With just a few ingredients and steps, you can make your own fresh butter that’s perfect for cooking, baking, or spreading on bread. You can choose to make salted or unsalted butter, and you’ll learn how to separate the buttermilk and properly store your butter to preserve freshness.
Ingredients
Butter Ingredients
- 4 cups heavy whipping cream
- 2 tsp sea salt (optional, for salted butter)
- Ice water (for rinsing the butter)
Instructions
- Prepare Equipment: Get out a stand mixer fitted with the whisk attachment or a large mixing bowl and hand mixer with whisk attachment. Ensure the bowl is large enough to accommodate the volume increase of whipping cream.
- Whip Heavy Cream: Pour the heavy whipping cream into the mixer bowl and whisk on medium speed for about 10 minutes. Whip until stiff peaks form, then add sea salt if using. Continue whisking until butterfat separates from the buttermilk; butter will stick to the whisk, and buttermilk will be liquid in the bowl.
- Strain Butter and Buttermilk: Place a mesh sieve over a smaller bowl. Pour the whipped cream mixture into the sieve so the butter is caught on top and buttermilk drains into the bowl below.
- Squeeze Excess Liquid: Pick up the butter and squeeze out as much liquid as possible. Dip the butter into ice water, then squeeze again to remove any remaining buttermilk. This helps improve shelf life.
- Shape and Store Butter: Place the squeezed butter onto parchment or wax paper and form it into a log or brick shape similar to store-bought sticks. Wrap tightly with paper and tie ends with kitchen twine. Optionally, slice into smaller sticks individually wrapped. Store wrapped butter in the refrigerator to firm up.
- Chill and Preserve: Keep the butter refrigerated for up to 3 weeks or freeze for up to 9 months for long-term storage.
Notes
- This recipe yields approximately 1 lb (4 sticks) of butter or 32 tablespoons total.
- Heavy whipping cream is the only suitable ingredient; substitutes will not work.
- Adding salt is optional and can be adjusted to taste.
- Thoroughly rinsing and squeezing the butter removes buttermilk that can cause quicker spoilage.
- Use parchment or wax paper and twine for traditional butter sticks or store in airtight containers.
Nutrition
- Serving Size: 1 tablespoon
- Calories: 102
- Sugar: 0.1 g
- Sodium: 90 mg
- Fat: 11.5 g
- Saturated Fat: 7.2 g
- Unsaturated Fat: 4.3 g
- Trans Fat: 0.5 g
- Carbohydrates: 0 g
- Fiber: 0 g
- Protein: 0.1 g
- Cholesterol: 31 mg


