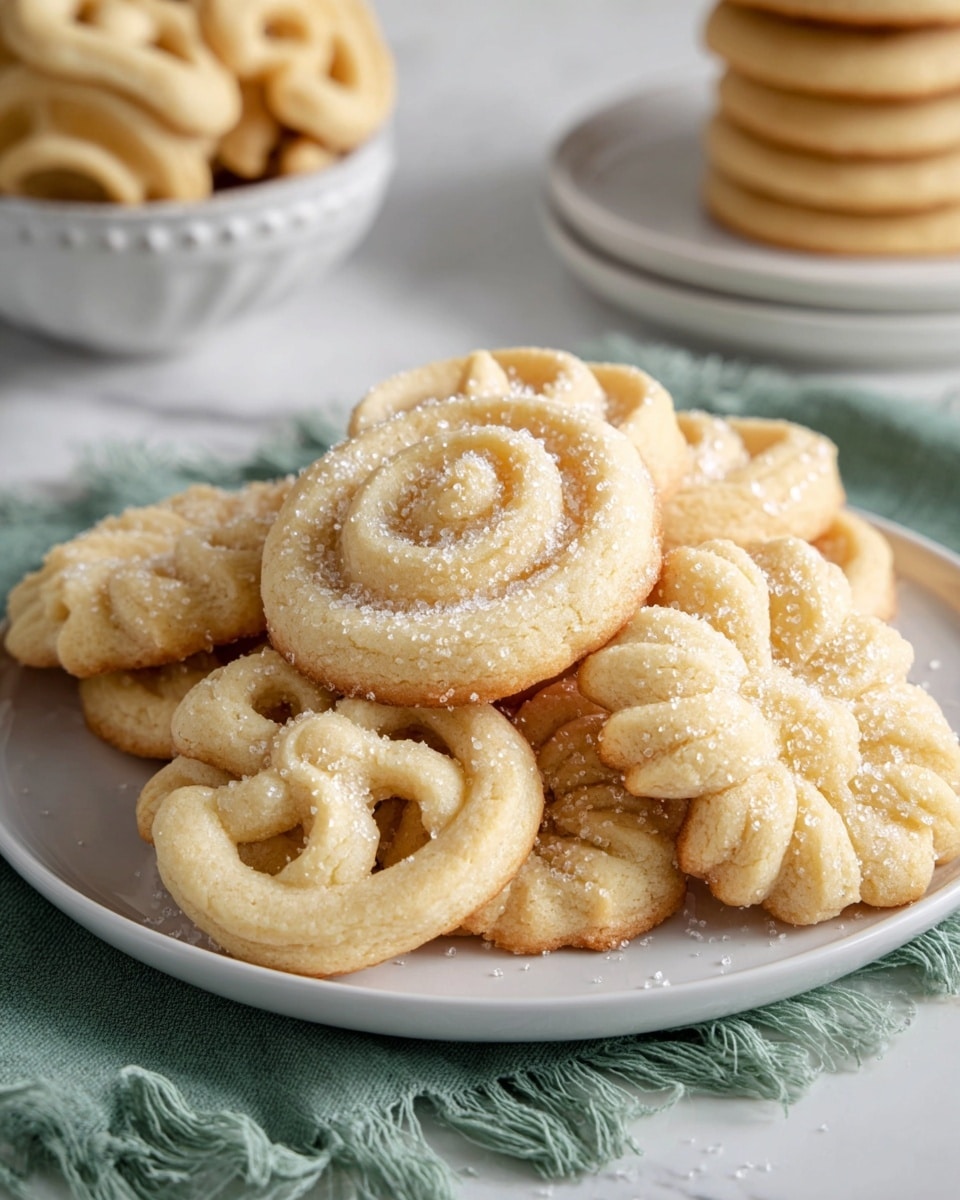
Oh, I absolutely adore this Melt-in-Your-Mouth Danish Butter Cookies Recipe! Whenever I make these classics, my kitchen fills with this buttery, vanilla-y aroma that’s simply irresistible. What makes this recipe truly special is the delicate, crumbly texture paired with just the right hint of sweetness that melts right away on your tongue — seriously, it feels like a little pampering in every bite.
These cookies are perfect for pretty much any occasion. Whether you’re baking for a cozy afternoon tea, festive gift-giving, or just a treat to brighten your day, you’ll find that this Melt-in-Your-Mouth Danish Butter Cookies Recipe never disappoints. Plus, it’s surprisingly straightforward to make, even if you’re not usually a baker — and I’m here to walk you through it step by step!
Why You’ll Love This Recipe
- Buttery, Light Texture: The combination of cake flour and all-purpose flour gives these cookies an irresistible melt-in-the-mouth feel you’ll crave again and again.
- Simple Ingredients: You only need pantry basics — no fancy stuff — making it easy to whip up anytime.
- Perfect for Gifting: These cookies hold their shape beautifully and look gorgeous when piped into traditional designs.
- Customizable and Fun: You can easily add sprinkles or coarse sugar for a festive touch or keep it classic for elegant simplicity.

Ingredients You’ll Need
The magic of this Melt-in-Your-Mouth Danish Butter Cookies Recipe really comes down to using high-quality butter and the right flours. Each ingredient plays its part to create that tender, crisp texture you’ll love.
- European salted butter: This butter’s higher fat content and slight saltiness create rich flavor and perfect texture.
- Granulated sugar: Adds just the right amount of sweetness without overpowering.
- Salt: Enhances all the buttery, sweet flavors and balances the recipe.
- Egg yolks: Give richness and help bind the dough together gently.
- Vanilla extract: Just a splash brings out that classic, comforting flavor.
- Whole milk: Softens the dough to the perfect consistency for piping.
- All-purpose flour: Provides structure and body for the cookies.
- Cake flour: Keeps the texture delicate and crisp — the secret to “melt-in-your-mouth.”
- Coarse sugar (for decorating): Adds sparkle and a subtle crunch on top (optional).
Variations
I love how versatile this Melt-in-Your-Mouth Danish Butter Cookies Recipe is. Once you master the basic dough, you can have so much fun switching things up to match your mood, the season, or dietary needs.
- Almond or Citrus Twist: Adding a teaspoon of almond extract or some lemon zest gives a fragrant flair I personally adore during holidays.
- Chocolate-Dipped: My family goes crazy when I dip half of each cookie in melted dark chocolate — it’s the ultimate indulgence.
- Gluten-Free Option: I once swapped the flour combo for a gluten-free blend with great success; just be mindful of dough consistency.
- Sprinkle Toppings: Colorful sprinkles or even a dusting of powdered sugar can make these cookies pop for parties.
How to Make Melt-in-Your-Mouth Danish Butter Cookies Recipe
Step 1: Prep Your Space and Chilling Setup
First things first, clear some room in your refrigerator to chill baked cookies on a tray later — this is key to prevent spreading. Also, line two baking sheets with parchment paper or silicone mats so you’re ready once the dough is piped. Trust me, preparing early saves you from scrambling later!
Step 2: Cream the Butter and Sugar to Perfection
Using a stand mixer with a paddle attachment, cream your room temperature European salted butter until smooth on medium speed. Then slowly add the sugar and salt while mixing on low, followed by cranking it up to medium until the mixture is light and fluffy — this gives the cookies their tender crumb. It usually takes about 3-5 minutes, but watch closely, you don’t want to overdo it or under-mix.
Step 3: Add Egg Yolks, Vanilla, and Milk
Keep the mixer on medium speed as you add the egg yolks, vanilla extract, and whole milk all at once. This will help the dough come together smoothly. Don’t forget to scrape down the bowl’s sides with a spatula to ensure even mixing — it’s a simple step that makes a huge difference!
Step 4: Mix in the Flours Gently
In a separate bowl, whisk the all-purpose flour together with the cake flour. Add this dry mix to your wet ingredients in two parts, mixing on low speed. The dough should begin forming without any flour streaks. If it feels too stiff to pipe, slowly add an extra tablespoon of milk to soften. Remember, overmixing develops gluten and toughens these delicate cookies — so mix just until combined.
Step 5: Pipe and Chill the Cookies
Fill a piping bag fitted with a ½-inch open star tip and pipe your dough into your favorite shapes — circles, rosettes, pretzels, or squares, spacing them at least 2-inches apart on your lined baking sheets. Sprinkle with coarse sugar or festive sprinkles for a little sparkle. Then pop the trays into the fridge for 20-30 minutes. This chilling step is key — it prevents cookies from spreading too much during baking and helps them keep their iconic shapes.
Step 6: Bake Until Just Golden
Preheat your oven to 350°F (175°C) and position the rack in the middle. Bake the cookies for about 10-15 minutes until the edges are lightly golden — watch carefully as ovens vary. Once done, let them cool on the baking sheet for 5 minutes before transferring to a wire rack so they finish cooling without losing that tender crispness.
Pro Tips for Making Melt-in-Your-Mouth Danish Butter Cookies Recipe
- Room Temperature Ingredients: I’ve learned that letting butter and eggs come to room temp ensures your dough mixes evenly and bakes perfectly.
- Don’t Skip Chilling: Chilling your piped cookies is a game changer—it prevents over-spreading and keeps your shapes crisp.
- Use a Scale for Flour: This trick saves you from adding too much flour, which can toughen the cookies—a very common baking hurdle.
- Watch Your Bake Time: Baking just until edges turn golden keeps cookies tender inside, so don’t walk away from the oven.
How to Serve Melt-in-Your-Mouth Danish Butter Cookies Recipe
Garnishes
I usually keep things simple with either a light dusting of powdered sugar or a sprinkle of coarse sugar for crunch and sparkle — it just catches the light beautifully. During holidays, I love adding colorful sprinkles or dipping part of each cookie in chocolate for a delightful contrast.
Side Dishes
Serve these buttery delights with a cup of strong black coffee or a nice herbal tea. They also pair wonderfully with a glass of cold milk or even hot cocoa if you want to cozy up. I often enjoy these cookies alongside fresh fruit or whipped cream for a light dessert twist.
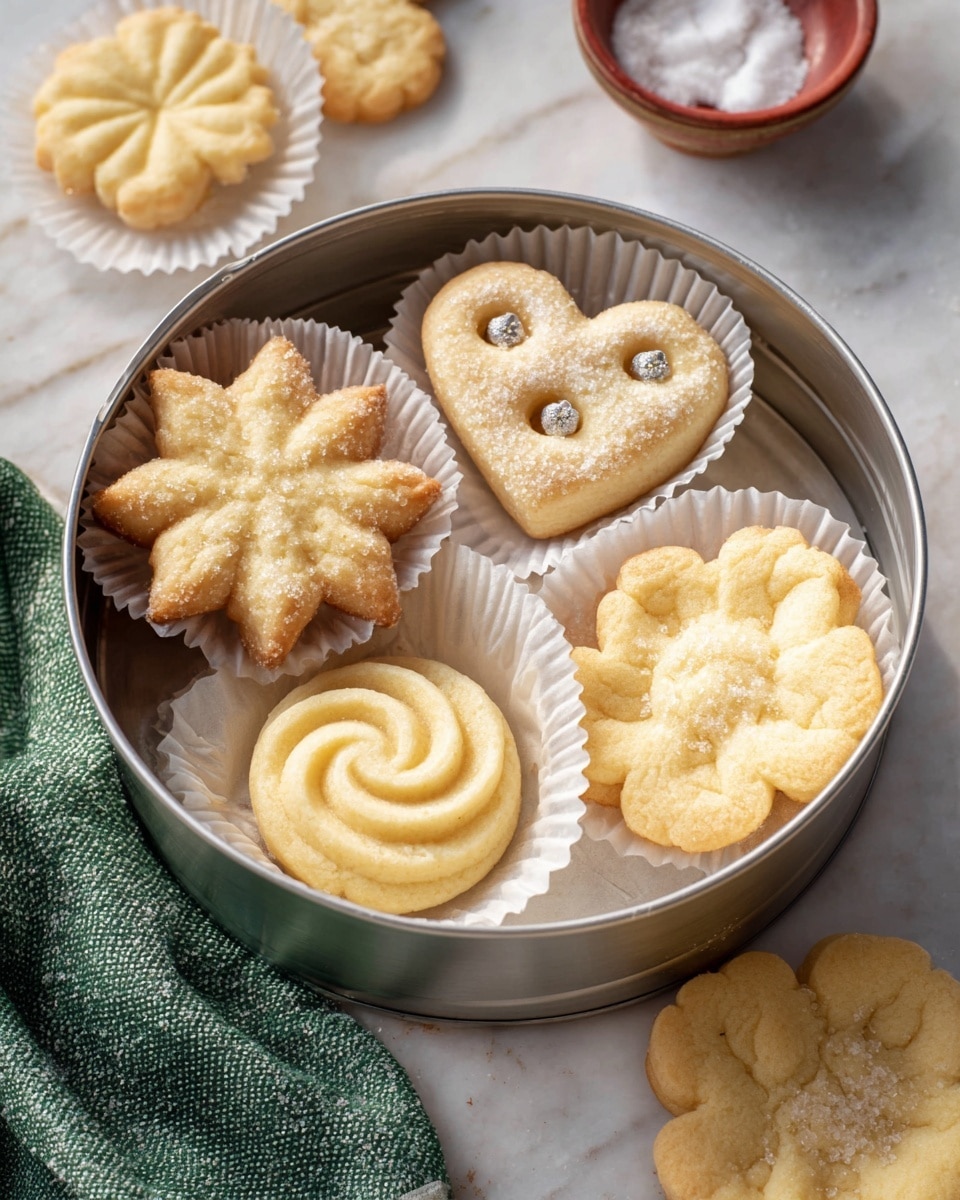
Creative Ways to Present
Once, I arranged them in a beautiful tin lined with parchment paper, layering with thin tissue paper between batches to gift family — it made everything feel so special. For parties, arranging them on tiered platters with fresh flowers or greenery adds charm. Don’t hesitate to use cookie cutters for seasonal shapes to add fun themes!
Make Ahead and Storage
Storing Leftovers
I store leftover cookies in an airtight container at room temperature, and they stay fresh and delicious for up to 5 days — if they last that long! Keeping them away from moisture is key to preserving that perfect crisp exterior and melt-in-mouth center.
Freezing
If I’m making big batches, I freeze unbaked piped dough on trays for 2-3 months. I just bake the frozen cookies straight from the freezer, adding a couple of extra minutes to the bake time. This hack always amazes guests who think I made them fresh that day!
Reheating
To bring life back to stored cookies, I pop them in a 300°F oven for 3-5 minutes — this revives the crisp without drying them out. Just like freshly baked cookies, every time.
FAQs
-
Can I use unsalted butter instead of salted butter?
Absolutely! If you use unsalted butter, just add about ¼ teaspoon of kosher salt to the dough to balance the sweetness and enhance flavor.
-
Why do I need to chill the cookies before baking?
Chilling solidifies the butter and firms up the dough, which prevents the cookies from spreading too much in the oven and helps maintain their piped shapes.
-
What if I don’t have cake flour?
You can substitute the cake flour with extra all-purpose flour (about 260 grams total), but the texture might be a little less delicate and crisp.
-
Can I freeze the baked cookies?
Yes! Once baked and fully cooled, store them in an airtight container or freezer-safe bag, and freeze for up to 3 months. Thaw at room temperature before enjoying.
-
How do I piped different shapes?
Using a piping bag fitted with an open star tip allows you to create classic rosettes, pretzels, or circles. Practice piping on parchment first to get comfortable with pressure and shapes.
Final Thoughts
This Melt-in-Your-Mouth Danish Butter Cookies Recipe holds a dear place in my heart — it’s my go-to when I want something simple but truly satisfying, both for everyday treats and special celebrations. I’ve shared these with friends and family countless times, and they always ask for seconds! I promise you, once you try making them yourself, you’ll appreciate the buttery richness and tender crumb as much as I do. Give this recipe a go — I know you’ll love it.
Print
Melt-in-Your-Mouth Danish Butter Cookies Recipe
- Prep Time: 15 minutes
- Cook Time: 15 minutes
- Total Time: 1 hour 30 minutes
- Yield: 24 cookies
- Category: Dessert
- Method: Baking
- Cuisine: Danish
Description
Delight in these classic Danish Butter Cookies that melt in your mouth with every bite. Made with a perfect blend of European salted butter, sugar, and a unique combination of all-purpose and cake flour, these cookies offer a delicate crisp texture and rich buttery flavor. Easy to pipe and decorate, they are ideal for gifting or enjoying with a cup of tea.
Ingredients
Butter Mixture
- 1 cup (227 g) European salted butter, room temperature
- 1/2 cup (100 g) granulated sugar
- 1/8 teaspoon salt
Wet Ingredients
- 2 egg yolks
- 2 teaspoons (10 g) vanilla extract
- 1 tablespoon (15 g) whole milk, plus more to soften
Dry Ingredients
- 2 cups (220 g) all-purpose flour
- 1/2 cup (50 g) cake flour
Topping
- Coarse sugar for decorating
Instructions
- Prep the refrigerator and baking mats: Make space in your refrigerator for a baking sheet to chill the shaped cookies and line two baking sheets with parchment paper or silicone mats for baking. This ensures proper chilling and prevents over-spreading during baking.
- Cream butter, sugar, and salt: Using a stand mixer fitted with a paddle attachment, beat the room temperature butter on medium until smooth. Gradually add granulated sugar and salt while mixing on low, then increase speed to medium until the mixture is light and fluffy.
- Incorporate egg yolks, vanilla, and milk: While the mixer runs on medium speed, add in egg yolks, vanilla extract, and whole milk. Mix thoroughly and scrape down the bowl sides to ensure even blending.
- Mix dry ingredients and combine: Whisk together all-purpose flour and cake flour in a separate bowl. Add the flour mixture to the mixer in two batches, mixing on low speed until fully incorporated and no flour traces remain. If the dough feels too stiff to pipe, add an additional tablespoon of milk to soften.
- Pipe the cookies: Transfer the dough to a large piping bag fitted with a ½-inch open star tip. Pipe 2-inch-sized cookies in your desired shapes (rosettes, pretzels, circles, or squares) onto the prepared baking sheets, spacing them 2 inches apart. Optionally, sprinkle with coarse sugar or festive sprinkles. Chill in the refrigerator for 20-30 minutes to prevent over-spreading.
- Preheat the oven: Set the oven to 350°F (175°C) and position the rack in the middle.
- Bake the cookies: Bake chilled cookies for 10-15 minutes, until the edges are just lightly golden brown. Cool on the baking sheet for 5 minutes before transferring to wire racks to reach room temperature.
Notes
- Use room temperature butter for easy mixing; it should be slightly cool (~67°F or 19°C) but soft enough to leave an indentation when pressed.
- Room temperature eggs help cookies bake evenly; place cold eggs in warm water for 5 minutes to speed this up.
- Don’t over-mix the batter to avoid developing gluten which makes cookies tough.
- Watch the cookies closely as baking times vary with cookie size and shape.
- You can substitute the cake flour and all-purpose flour mix with 260 grams of all-purpose flour alone, but the combination gives the best texture.
- Measure flour accurately using a kitchen scale or by fluffing and lightly spooning the flour into measuring cups.
- If using unsalted butter, add ¼ teaspoon kosher salt to maintain flavor balance.
- Store cookies in an airtight container at room temperature for up to 5 days, or freeze for up to 3 months.
- The shaped cookie dough can be chilled refrigerated for up to 2 days (covered) or frozen for 2-3 months; bake frozen dough a few minutes longer without thawing.
Nutrition
- Serving Size: 1 cookie
- Calories: 110
- Sugar: 6 g
- Sodium: 45 mg
- Fat: 7 g
- Saturated Fat: 4.5 g
- Unsaturated Fat: 2 g
- Trans Fat: 0 g
- Carbohydrates: 11 g
- Fiber: 0.3 g
- Protein: 1 g
- Cholesterol: 25 mg
